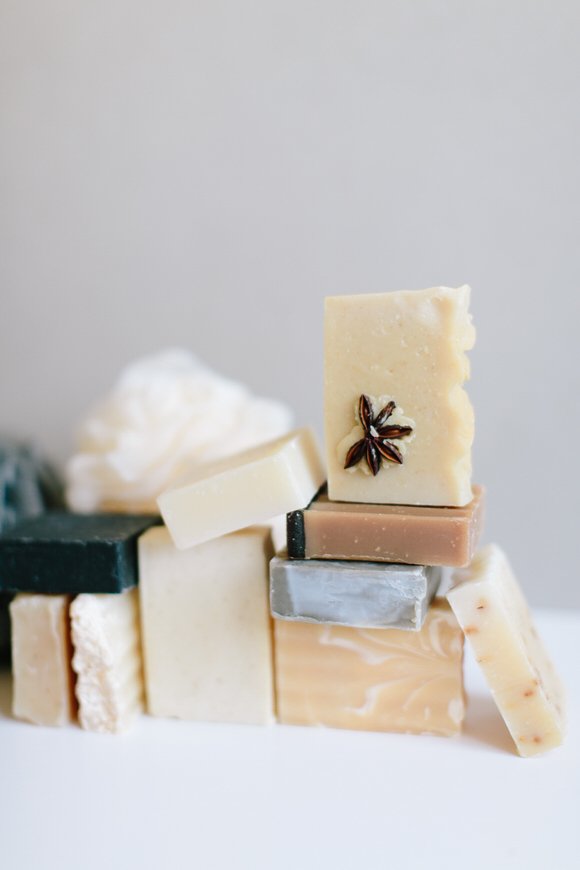
How to take photos of your products that sell
Note: Some of the links below are affiliate links, meaning (at no additional cost to you) I will earn a small commission should you click through and make a purchase following one of my recommendations
Ever since I was a little kid, roaming free in the wilderness of West Cork and Kerry, almost every photo my parents took of me shows me with a camera in my hand (and/or a sheep, dog or cat, duh).
Telling stories through my photos and inspiring people to go outside and see nature’s beauty with their own eyes, has always been a huge thing for me.
I am very grateful for the past few years. I’m writing these words while sitting in a cottage in Beara, my two dogs sleeping right next to me, I can see two donkeys when looking out the window, the sun is shining (yes, in Ireland, yes, in late August) and I still can’t believe it.
However, it wasn’t always like this. I spent the first few years working as a photographer for agencies until getting into the wedding photography business. 18h workdays, Friday and Saturday, a lot of travelling, editing for hours and hours… I’m very grateful for those years but yes, I am very happy that I’m not a wedding photographer anymore and that I get to inspire you with photos of Ireland’s spectacular beauty now.
I’m taking what I’ve learned since becoming a photographer in 2012 and sharing with you ways that y o u can take photos for your business.
As simple and easy as possible. No fancy cameras, no fancy equipment, no photography know-how required!
And please don’t worry if you’re not 100% happy with your first product photos. Just like any skill, the more you create, the better you’ll become.
There’s no right or wrong way in art and photography, so this is just my way of creating product photos. You will probably develop your own way of doing it, your own style and your own way.
I’m excited to see your product photos! Be sure to tag me @ettaletsgo .
THE BASICS
#1 Natural Light
Natural light, that is light provided by the sun, is a great tool to make your photos look natural.
Natural light is, in my opinion, the best way to light your photos. It not only looks great and more authentic on social, it’s also free and available everywhere…kind of. I’ve just moved into a new place and I’ve spent the last few weeks trying to figure out where the best spots for natural light are, depending on time of the day, weather… we’ll see what autumn and winter will be like.
The best natural light is usually next to a window (inside) or outside in the shade. The goal is to avoid direct sunlight to limit harsh shadows and extreme contrast.
#2 Straight Lines
Our goal is to create photos that are pleasing to the eye, so taking photos that have straight lines vertically and / or horizontally will make a huge difference. It will keep your feed / shop looking clean and more attractive to customers.
#3 Rule of Thirds
The rule of thirds is a guideline that divides a photo into nine sections by two equally spaced horizontal lines and two equally spaced vertical lines.
By making sure that the key elements of your photo are occupying multiple sections and by placing the most visually interesting elements / products at the intersections, you’ll capture the best looking and most appealing photos.
When taking photos for your business, focus on photos that represent your business well. I know it sounds like a no brainer, but it’s still important to stay focused on your goal to minimise extra work and unnecessary photo sessions.
If you’re a service based business, focus on showing behind the scenes, materials and tools you use. Whatever shows your follower or customer who you are and what you do, you’re winning.
Want to go next level and create flatlays for your products? I wrote a flatlay how-to here.
PREP
You and your business are unique, so spent some time trying to figure out what you want to accomplish with your photos. Is there a story behind it? What do you want your customer to feel like? Do they get to know you? Are you sharing a funny throwback story? Are you sharing insights on your products? Are you showcasing a bestseller or introducing a new product? Prepare by getting clear on your why, and organising tools, supplies and products you might need for your photoshoot.
STYLE
Aim for a consistent, cohesive and natural look while styling your props.
It always helps me to only choose a limited number of colours when creating my product photos. Be careful with colour, as you want the focus to be on your hero product and not on some very colourful secondary object.
Black and white go well with any colour palette and are a great choice for secondary probs.
CAPTURE
You’ve prepared, you’ve styled… Now it’s time to take those photos!
After all the work you’ve put into it, try taking as many photos as possible for your content (work smart not hard!).
Use different angles, close ups, a different crop or swap out probs for change things up. Make the most of your beautiful set up!
Take a few behind the scenes photos to share with your audience on instagram etc. The more content you can get out of it, the better for you and your audience. Add value in every way you can.
EDIT
All images benefit from editing, even if it’s just for giving your social media feed or blog a consistent look.
There are fantastic photo apps, so that you can edit your images right on your phone. They’re easy to use and especially Lightroom mobile is such a great app for it.
The most important adjustments are crop, exposure, contrast, clarity and saturation. They are the simple tools to make your flatlay photos really pop.
If you want to make it easier for yourself, why not get some Lightroom presets and speed up your editing process big time.
Check out my lightroom presets on Etsy. They’re easy to use and will save you a lot of time.
Wondering how to install lightroom presets? I wrote a blog post about it.
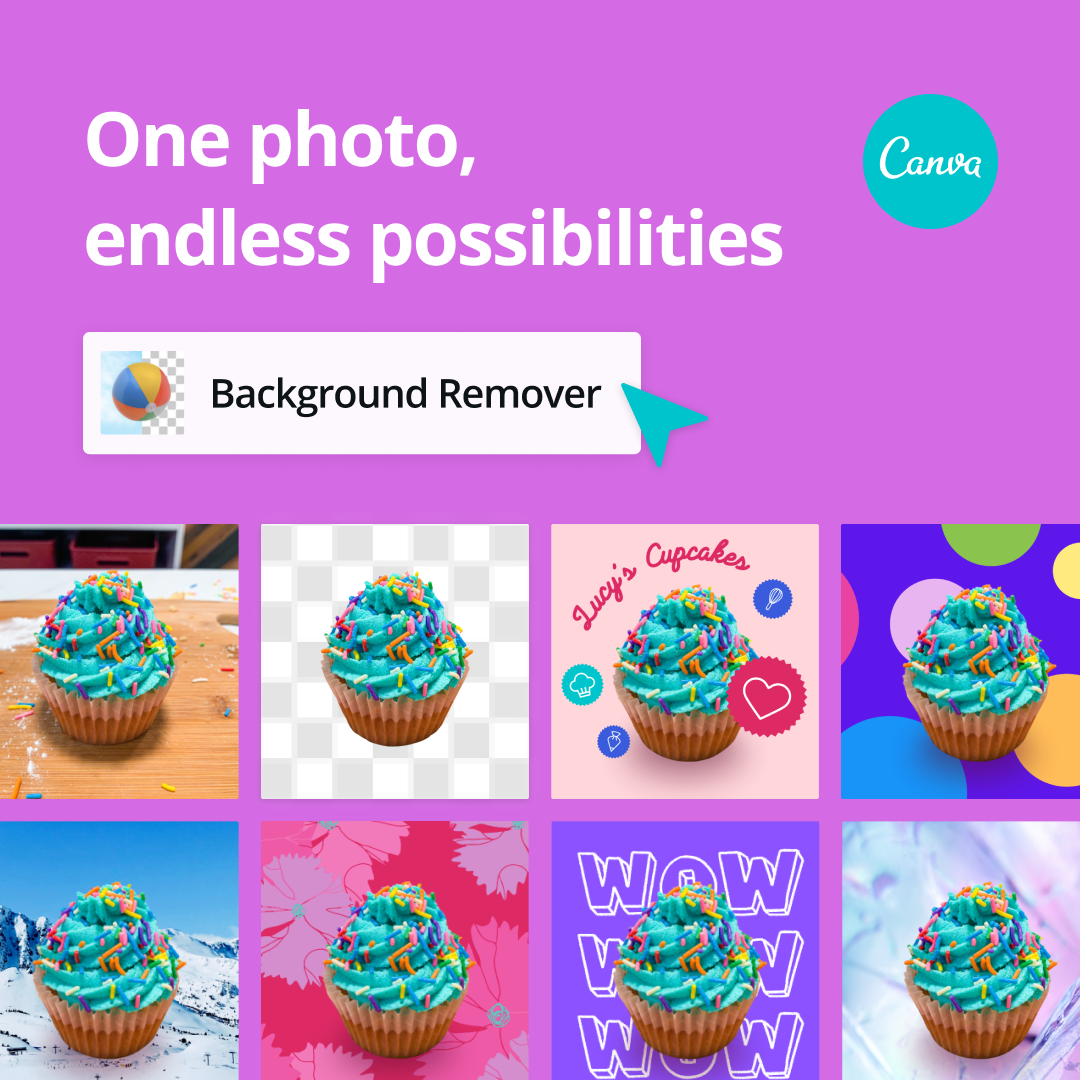
REMOVE BACKGROUND IF NECESSARY
Not happy with your background setting or just don’t have the time to find the perfect background for your product shoot?
Don’t panic.
Canva has all the tools you need to make it easy, fun, and quick.
Don’t forget: practice makes progress.
If you wan’t to learn more about photography for social media and how to create the most engaging social media content, take Jasmine Star’s SOS (Selling on Social) course and become an alumni like me. Or join her social media membership Social Curator and learn how to make your business stand out on a monthly basis , including captions, photos and more! I can’t thank Jasmine Star and her team enough for all the knowledge they’re sharing with their community and I want to share it with you too.


